
There is a special kind of panic when your hearing aid suddenly goes silent. You tap it, you shake it, you stare at it as if staring will help. Before you assume the worst (and before you pay for a repair), work through this checklist in order. It is organized from the simplest, most common causes to the least likely, and it resolves the large majority of “dead hearing aid” cases in under five minutes. Grab your device and follow along.
Step 1: Check the Battery
Dead batteries cause more “broken” hearing aids than everything else combined. This is always step one.
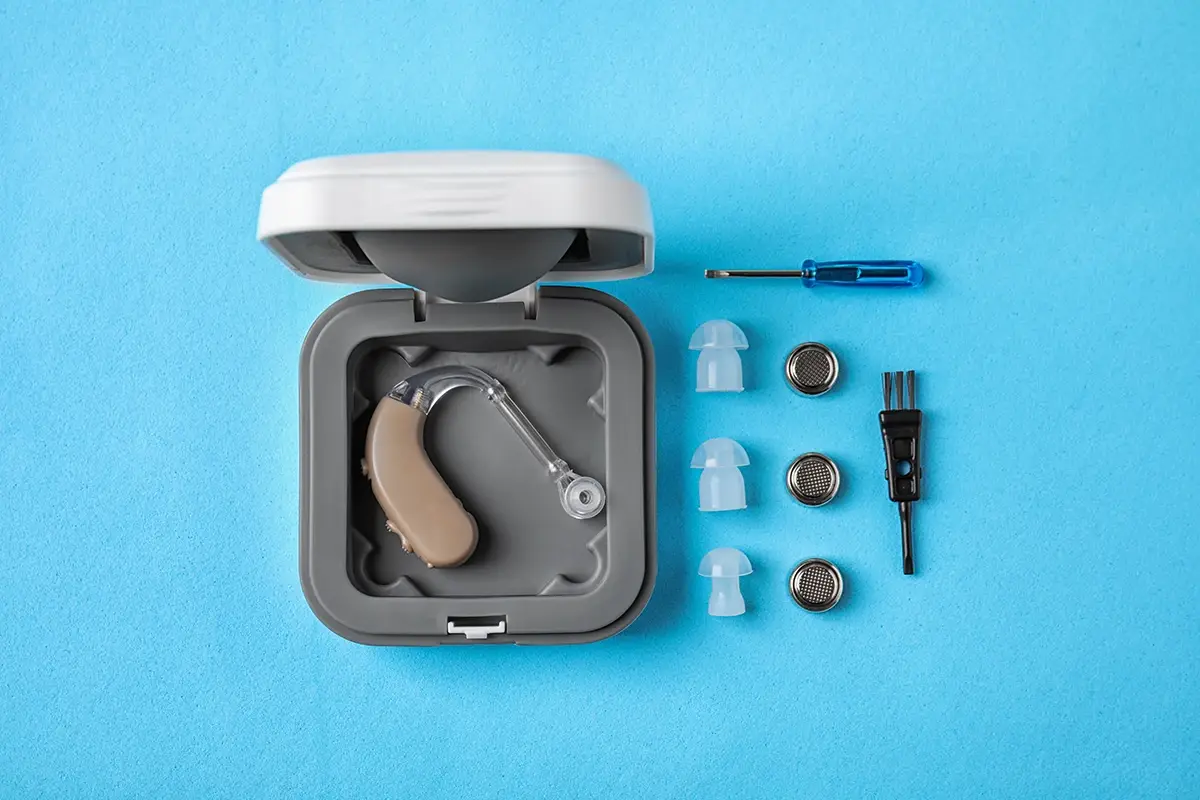
For disposable batteries: open the battery door completely, remove the old cell, and check its size against what your aid requires (10, 13, 312, or 675; our battery sizes guide has photos if you are unsure). Peel the sticker tab off a fresh battery and wait a full 60 seconds before inserting it; the battery needs that minute of air exposure to activate. Insert it flat-side up (the smooth side faces up, matching the + marking), close the door firmly until it clicks, and wait a few seconds for the startup jingle. If you skipped the 60-second wait, the battery may seem dead when it is just not activated yet.
For rechargeable models: place the aids in the charger and confirm the indicator lights show charging. A common gotcha: the aids look seated but are not making contact. Remove them, wipe the charging contacts on both the aids and the case with a dry cloth, and reseat them until the lights confirm charging. Then give them at least 15 minutes before testing. Also check that the charger itself is plugged in and its outlet works; chargers get unplugged by cleaners, pets, and curious grandchildren.
If a fresh battery or a confirmed charge does not help, move to step two. Do not keep swapping batteries; one fresh cell is enough to rule power out.
Step 2: Clean the Wax Guard and Speaker
The second most common cause of silence is a wax-clogged speaker. The sound outlet on your hearing aid is tiny, and it takes surprisingly little wax to block it completely. The device is working perfectly; the sound just cannot get out.
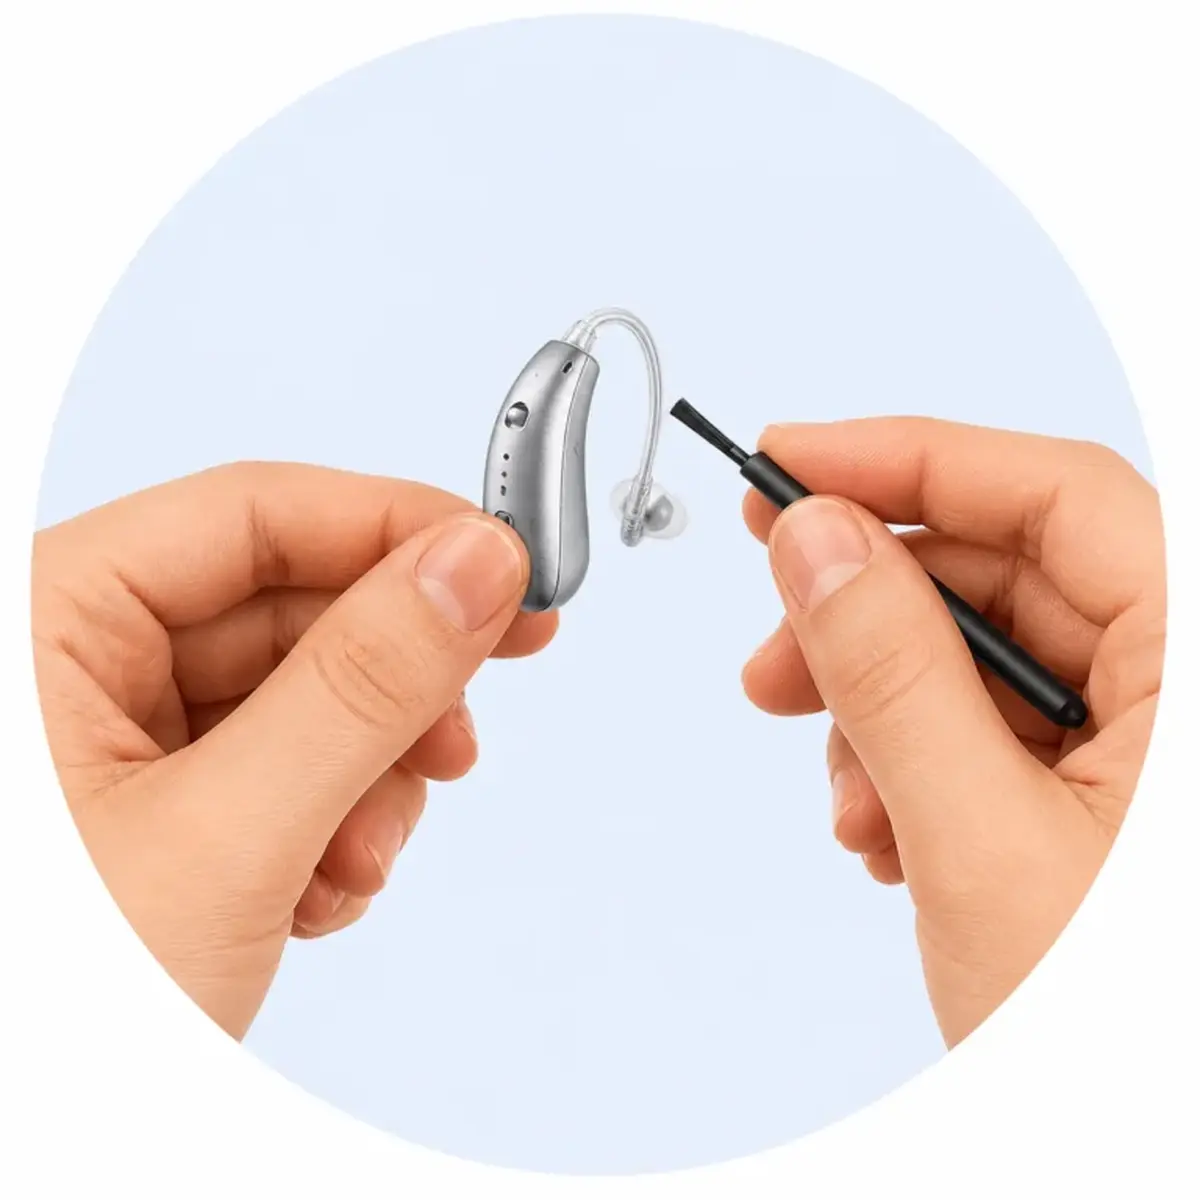
What to do: remove the dome or earmold and look at the wax guard, the small white filter at the tip. If it looks yellowed, dark, or visibly clogged, replace it now. Most manufacturers include a pack of wax guards with a simple applicator tool: push the old one out, press the new one in. It takes under a minute. While you are there, brush the microphone ports (the tiny holes on the outer body) gently with the cleaning brush that came with your aids. Do not poke anything into the speaker opening. Our wax guard guide and cleaning guide cover this in detail with photos.
Step 3: Check for Moisture
Hearing aids and moisture are enemies. Sweat, rain, humidity, or even shower steam can temporarily silence a device. If your aid died after a workout, a rainy walk, or a humid day, moisture is the prime suspect.
What to do: open the battery door (for disposable-battery models) and place the aid in a dry, room-temperature spot for several hours. Better yet, use a hearing aid dryer or dehumidifier jar if you have one; these use gentle warmth and desiccant to pull moisture out overnight. Do not use a hair dryer, microwave, or radiator; excessive heat damages electronics far worse than moisture does. If the aid revives after drying, consider making overnight drying a habit, especially in summer or if you perspire heavily. Rechargeable models can go straight into a dryer jar with the battery doors open.
Step 4: Inspect for Physical Damage
Look the device over carefully in good light. Check the receiver wire (on RIC models) for kinks, frays, or sharp bends. Check BTE tubing for cracks, stiffness, or discoloration. Look at the battery door: does it close fully and click? A door that does not close completely breaks the power circuit, and doors do wear out or crack at the hinge. Check domes and earmolds for tears.
What you can fix: replace damaged domes, wax guards, and (on BTE models) tubing yourself; these are inexpensive consumable parts. What you should not fix: do not attempt to open the hearing aid casing, solder wires, or force a cracked battery door. Sealed devices contain no user-serviceable parts, and opening them voids the warranty. Physical damage to wires, speakers, or casing goes to your provider or the manufacturer.
Step 5: Rule Out a Settings or Bluetooth Problem
Sometimes the aid is working but you cannot tell because of a settings issue. If your model has a volume control or program button, try cycling through programs; you may have accidentally switched to a telecoil or muted program. In the companion app, check that the aids show as connected and that the volume slider is not at zero. If the aids connect to your phone, try unpairing and re-pairing Bluetooth, since a stuck Bluetooth state can occasionally mute audio routing. Our phone connection guide walks through that process.
Step 6: Try a Full Reset
Like any computer, hearing aids occasionally benefit from a restart. For disposable-battery models, remove the battery, leave the door open for a full minute, then insert a fresh battery and close the door. For rechargeable models, place them in the charger for 30 seconds, remove them, and let them power up. Some models also support a button-hold reset; check your user manual for the exact sequence. If the aid springs to life after a reset but the problem recurs frequently, mention the pattern to your provider; recurring lockups can indicate a firmware issue the manufacturer needs to address.
When to Stop Troubleshooting and Get Help
If you have worked through all six steps with fresh batteries, clean wax guards, dry devices, and no visible damage, and the aid is still silent, you have done your part. Continuing to tinker risks causing damage. Here is how to decide your next move:
- Under warranty: contact your provider or the manufacturer for a warranty repair. Most hearing aids carry 1 to 3 years of coverage, and manufacturers typically turn repairs around in one to two weeks. Many providers lend you a temporary device during the wait; ask.
- Out of warranty: get a repair quote before deciding. Standard repairs often cost $100 to $300, but if your aids are more than five years old, compare that against replacement. Our lifespan guide helps with the repair-versus-replace math.
- One aid works, the other does not: swap the batteries between them. If the problem follows the battery, it was a power issue. If it stays with the aid, the device needs service.
Seek prompt professional attention rather than continuing DIY steps if the failure coincided with pain, drainage, sudden hearing change, or dizziness; those suggest a medical issue, not a device issue.
Preventing the Next Silent Morning
Most sudden failures are preventable with boring habits. Change batteries before they die rather than after; keep spares in your bag, car, and nightstand. Replace wax guards on a schedule. Dry your aids overnight, especially in humid climates. Store them in their case, not loose in a pocket with keys. And keep up with professional cleanings and checkups; your audiologist spots dying receivers and weakening battery doors before they fail at the worst moment. A little routine maintenance is the cheapest repair of all.
Frequently Asked Questions
Why did my hearing aid work yesterday but not today?
The most common overnight change is a battery dying or moisture accumulating. Fresh batteries and overnight drying resolve the majority of worked-yesterday cases.
How do I know if the battery or the aid is the problem?
Put a brand-new battery in (waiting 60 seconds after removing the tab). If the aid works, it was the battery. You can also test the old battery in the other aid if you wear two.
Can I fix a hearing aid speaker myself?
No. The speaker (receiver) is a sealed micro-component. Wax guard replacement is the user-serviceable limit; anything deeper requires professional service or manufacturer repair.
How long does a hearing aid repair take?
Manufacturer repairs typically take one to two weeks including shipping. Many providers offer loaner devices during the wait. Simple in-office fixes like tubing or receiver replacement can be done same-day.
Is it worth repairing a 6-year-old hearing aid?
Usually not. At that age, other components are near end-of-life too, and repair money is better applied to current technology with a fresh warranty. Compare repair quotes against new OTC options starting around $99.
The Bottom Line
A silent hearing aid is alarming but rarely fatal. Batteries, wax guards, and moisture explain the overwhelming majority of cases, and all three are fixable at home in minutes. Work the checklist in order, resist the urge to open anything sealed, and hand it to a professional when the simple steps do not work. Bookmark this page; the next time an aid goes quiet at 7 a.m., you will be glad you did. And if your aid is producing sound but it is distorted or weak rather than silent, our muffled sound guide and feedback guide cover those symptoms.