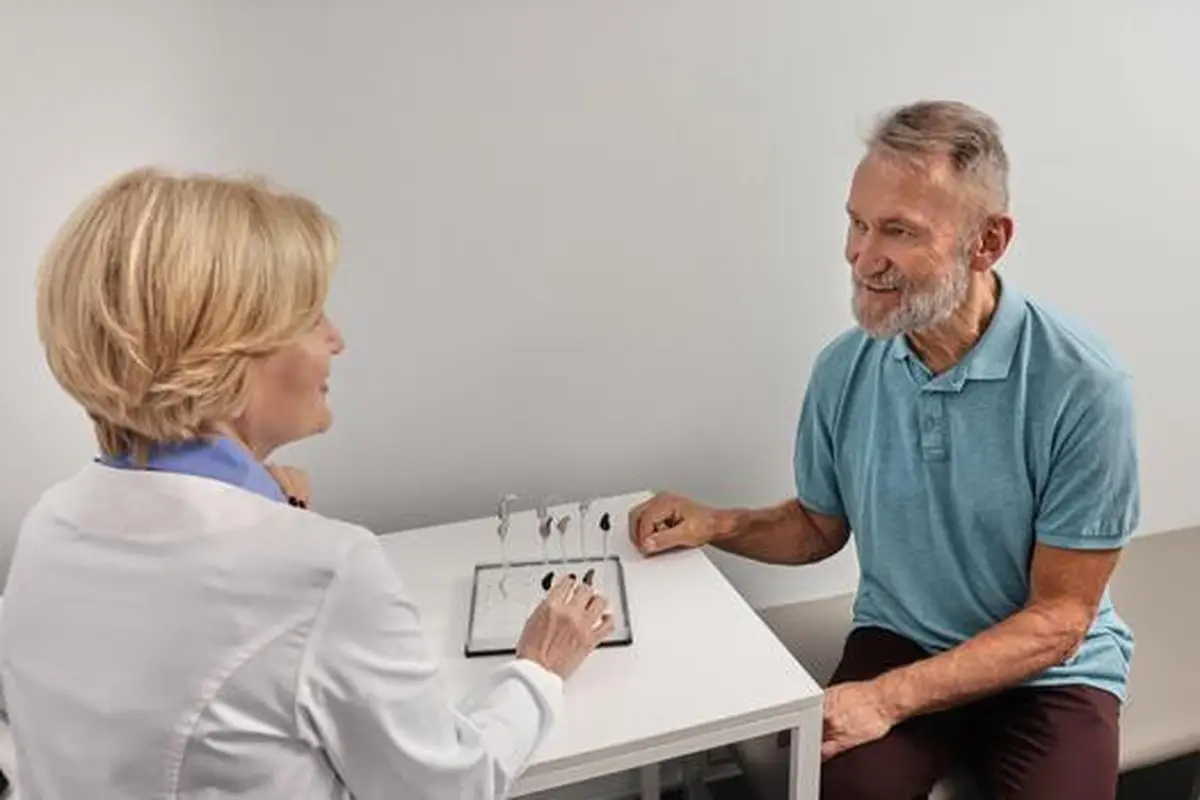


You have chosen your hearing aids. Now comes the appointment that determines whether they actually work for you: the fitting. Many first-time buyers imagine it as a quick handover, a box, a handshake, done. In reality, a proper fitting is a detailed clinical appointment, usually 60 to 90 minutes, where the devices are customized to your exact hearing loss, your ear shape, and your life.
This guide walks through everything that happens at a hearing aid fitting, what to bring, what to ask, and how to tell whether you received a thorough fitting or a rushed one.
Before the Appointment
A little preparation makes the fitting dramatically more useful. Bring your hearing test results if the fitting is with a different provider than the one who tested you. Bring a list of your medications, since some drugs affect hearing. Bring the glasses, phone, and any Bluetooth devices you use daily, because connectivity gets set up at the fitting. And bring a companion if you can. A second pair of ears helps you remember instructions, and your companion can give feedback on your voice volume, which often changes when you first wear aids.
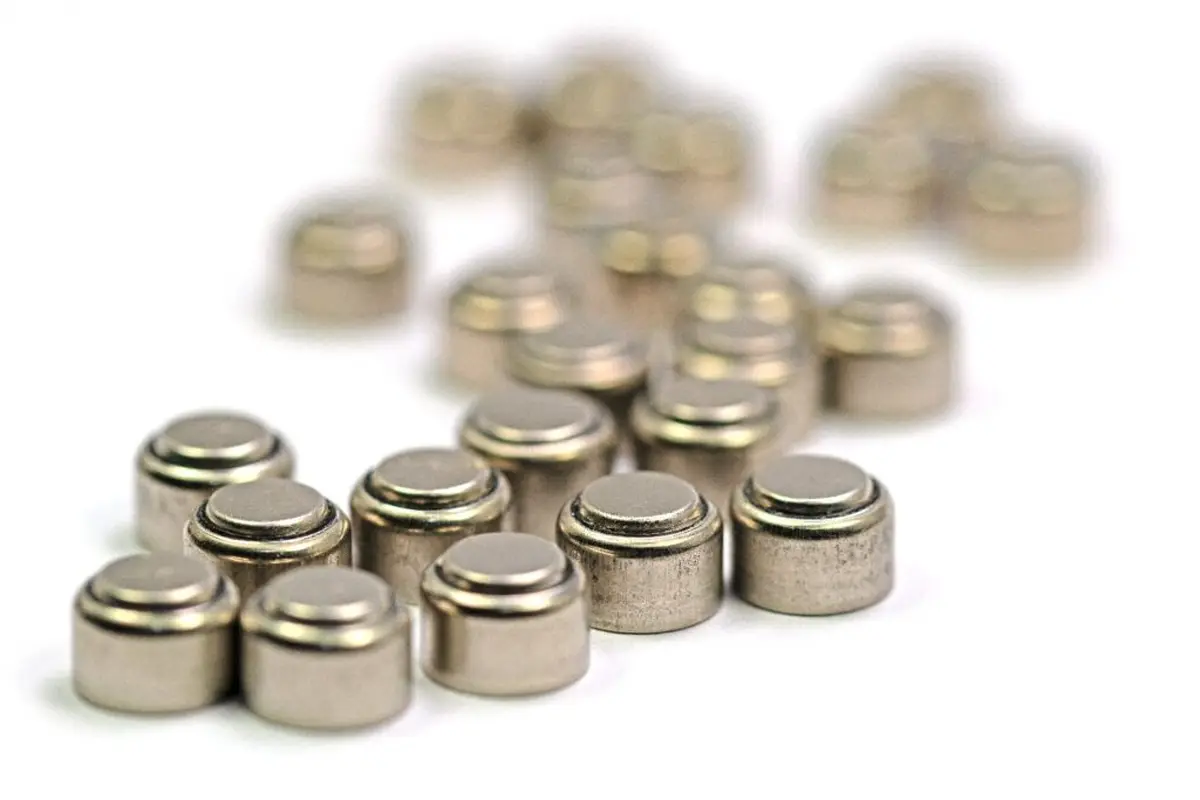
Also bring your questions. Our 15 questions to ask before buying covers the purchase, but for the fitting itself, the key questions are: how do I put these in and take them out, how do I change the batteries or charge them, how do I clean them, and how do I reach you if something feels wrong.
Step 1: Reviewing Your Hearing Test
The appointment usually opens with your audiogram. The provider walks through your results again and explains how the hearing aids were chosen to match your specific pattern of loss. This is also when they confirm the prescription: the precise amplification targets for each frequency, calculated from your test using a validated fitting formula.
If anything about your hearing has changed since the test, say so now. An ear infection, heavy wax buildup, or a recent loud-noise exposure can all shift results. If you have never learned to read your own test, our audiogram guide will get you up to speed in ten minutes.
Step 2: Physical Fit and Comfort
Next comes the physical part. The provider inserts the aids, checks how they sit, and adjusts for comfort. For receiver-in-canal models, this means selecting the right dome size and wire length. For custom molds, it means checking the seal. The aids should feel snug and secure, not painful. Mild awareness of something in your ear is normal on day one. Sharp pain, pressure points, or a feeling the aid will fall out are not, and the provider should address them on the spot.
This is also when you practice insertion and removal until you can do it confidently. It feels fiddly the first three times and natural by the tenth. Do not leave until you can do it yourself without help.
Step 3: Programming to Your Prescription
Now the provider connects your aids to their computer and programs them. Using your audiogram, the fitting software calculates how much amplification each frequency needs, then loads those targets into the devices. They will set up your programs (everyday, restaurant, music, and so on), adjust the volume range, configure Bluetooth pairing with your phone, and set features like feedback cancellation and noise reduction to starting levels.
Here is something important: most providers deliberately program first-time wearers slightly below full prescription. This is called acclimatization, and it is intentional. Full amplification on day one overwhelms most new brains. The aids get gradually turned up over your first few weeks. If everything sounds a bit underwhelming at the fitting, that is usually why. Our 30-day adjustment guide explains the ramp-up in detail.
Step 4: Real-Ear Verification
This step separates thorough providers from rushed ones. Real-ear measurement (sometimes called probe-mic measurement) involves placing a tiny microphone in your ear canal alongside the hearing aid, then measuring exactly what sound level reaches your eardrum. The provider compares that to your prescription targets and fine-tunes the programming until they match.
Why does this matter? Because every ear canal is a different shape and size, and the fitting software’s estimates are just estimates. Studies consistently show that real-ear verification leads to better outcomes and higher satisfaction. It takes about fifteen extra minutes. If your provider skips it and relies only on the manufacturer’s “first fit,” ask why. The NIDCD notes that proper fitting and follow-up are essential to hearing aid success, and verification is a big part of that. The FDA likewise advises working with a professional to ensure devices are fitted to your needs.
Step 5: Counseling and Practice
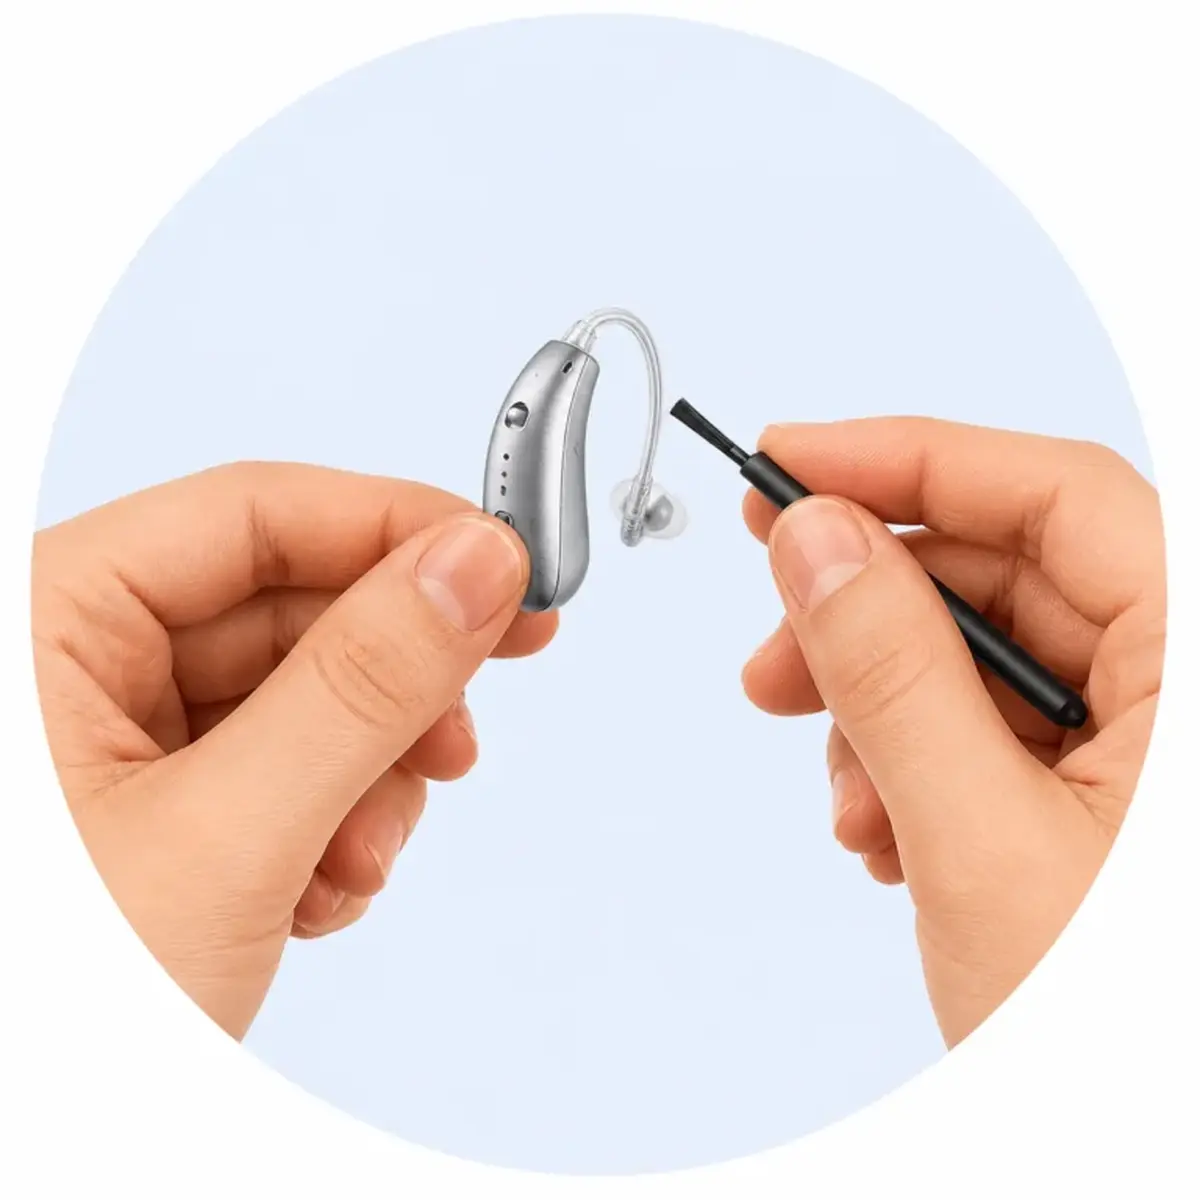
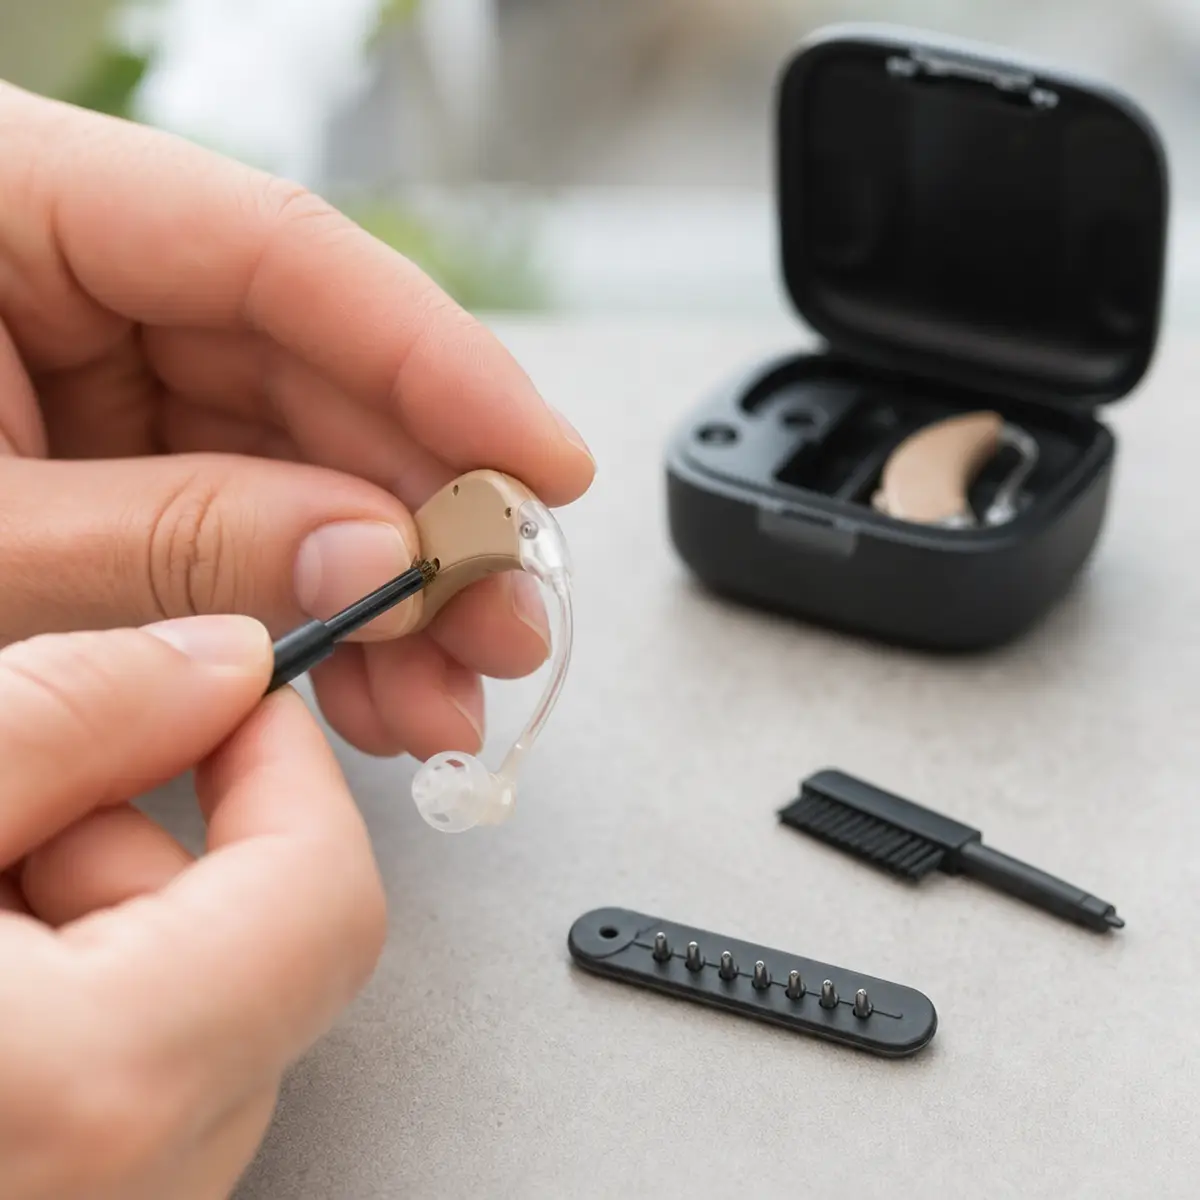
A good fitting ends with education, not a rushed goodbye. Expect to practice the daily essentials: inserting and removing the aids, opening the battery door or using the charger, changing wax guards, and the basic cleaning routine. You should leave knowing how to tell the battery is dying, what the different beeps mean, and how to use the volume control or app.
The provider should also set expectations honestly: the first weeks will feel strange, your own voice will sound odd, and you will need follow-up tweaks. If instead you hear “you’ll get used to it, just wear them,” without a scheduled follow-up, that is a thin fitting.
How Long It Takes and What It Costs
Plan on 60 to 90 minutes for a first fitting. Complex cases and first-time wearers take the full time. As for cost: at most clinics, the fitting appointment and a set number of follow-up adjustments are bundled into the device price. This is exactly why our buying questions guide stresses asking what is included. A quote that seems high may include a year of unlimited adjustments, while a cheap quote may charge per visit.
Follow-Up Appointments
The fitting is the beginning, not the end. Most wearers need two to four follow-up visits in the first two to three months for fine-tuning: turning amplification up toward full prescription, taming specific annoyances (your own voice booming, dishes clattering too sharply), and adjusting programs for your real environments. These visits are where good providers earn their reputation. Book the first follow-up before you leave the fitting, ideally two to three weeks out, when you will have real-world experience to report.
Keep a simple notes list on your phone between visits: situations where things sounded wrong, what exactly you heard, and what you wish were different. “Restaurants are still hard” is vague. “In noisy restaurants, background chatter drowns out the person across from me” is something your provider can actually fix.
How to Tell a Good Fitting From a Rushed One
A thorough fitting includes: a hearing test review, careful physical fitting with insertion practice, computerized programming explained to you, real-ear verification, Bluetooth setup with your actual phone, hands-on training for batteries and cleaning, honest counseling about the adjustment period, and a scheduled follow-up. If your appointment was fifteen minutes and a box, you did not receive a fitting. You received a transaction. It is not too late to request a proper follow-up appointment and ask for the missing pieces.
Frequently Asked Questions
Will my hearing aids work perfectly right after the fitting?
Probably not, and that is normal. Between deliberate under-amplification for new wearers and your brain needing time to relearn amplified sound, the first weeks are an adjustment. Most people need at least one fine-tuning visit. Patience plus follow-ups gets you to the good outcome.
Can I get hearing aids fitted without a hearing test?
For prescription aids, no legitimate provider will do this. The programming is calculated from your audiogram. OTC hearing aids are the exception: they are designed for self-fitting, often through a smartphone app hearing check. Our OTC vs prescription guide explains which path fits your situation.
What should I do if the aids hurt?
Tell your provider immediately, and describe exactly where it hurts. Physical discomfort is fixable: different dome size, wire length adjustment, or shell modification. Do not “tough it out.” Pain leads to not wearing the aids, which leads to no benefit at all.
How soon should I schedule a follow-up?
Two to three weeks after the fitting is typical. That gives you enough real-world experience to report specific issues, while the adjustment details are still fresh. If something is clearly wrong, call sooner rather than suffering through it.
Do I need to bring anything to the fitting?
Your phone, your glasses if you wear them, a list of medications, and ideally a companion. If another provider did your hearing test, bring those results. And bring questions. Prepared patients get better fittings.
The fitting is where your money turns into actual hearing improvement, so treat it as the important clinical appointment it is. Show up prepared, expect real-ear verification, practice until the handling feels natural, and leave with a follow-up on the calendar. Then give your brain the few weeks it needs. Our 30-day adjustment guide tells you exactly what those weeks feel like and how to get through them well.