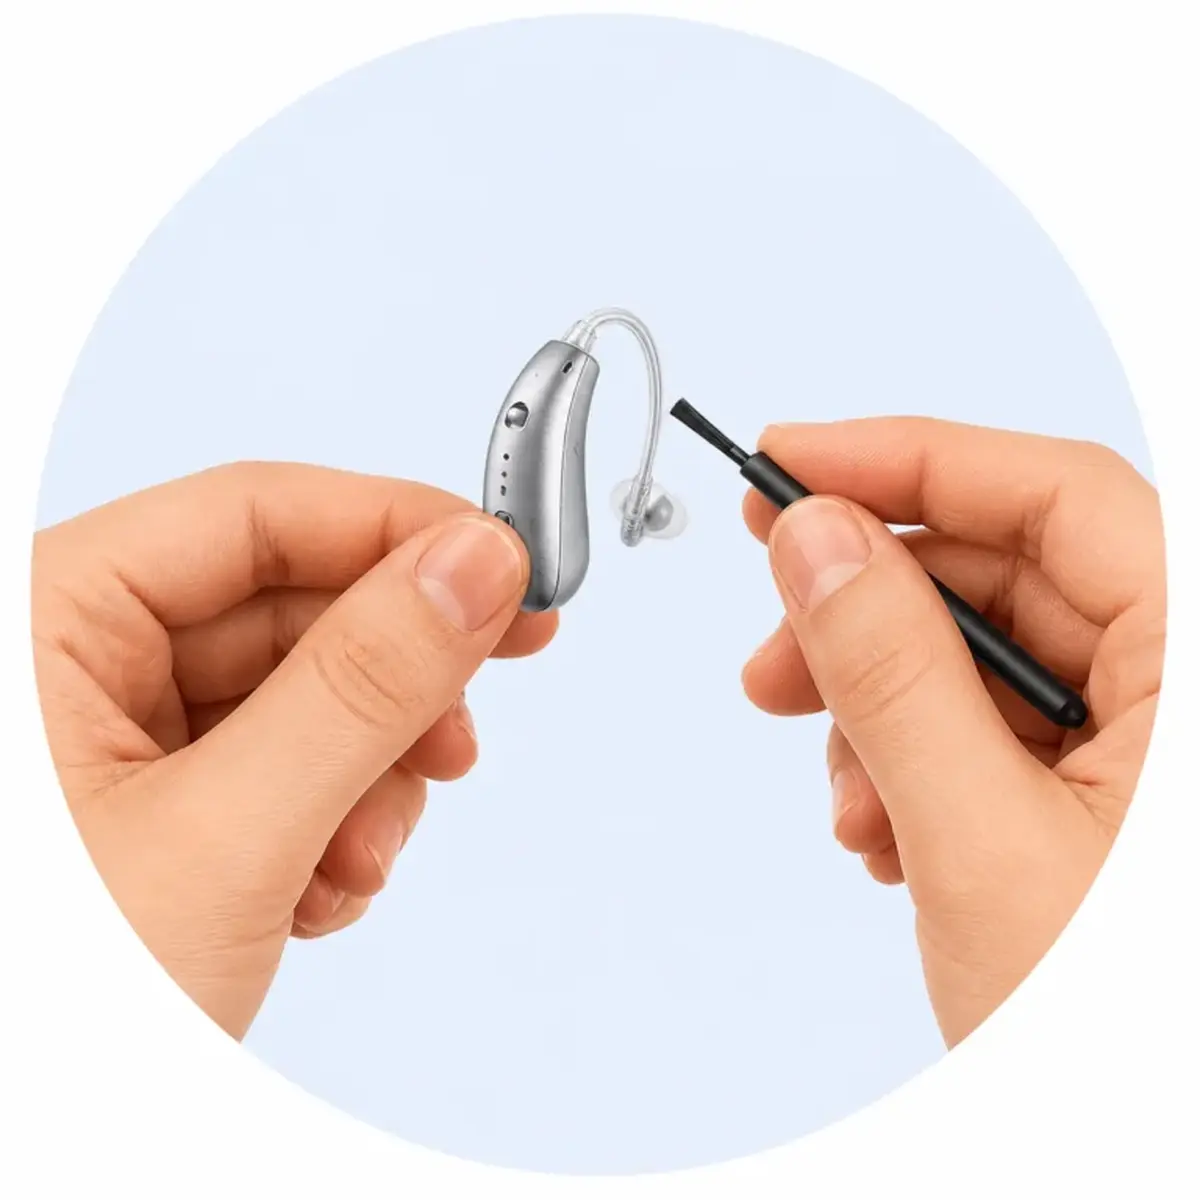

Here is a secret the hearing aid industry does not advertise: a huge share of “broken” hearing aids are not broken at all. They are just dirty. Earwax, skin oils, and moisture slowly clog the tiny sound outlet, and one day the aid sounds weak, muffled, or completely dead. A proper cleaning brings most of them straight back to life.
The good news: cleaning takes about two minutes a day, plus a slightly deeper clean once a week. This guide walks you through exactly what to do, what tools to use, and the mistakes that can permanently damage your devices.
Why Cleaning Matters More Than You Think
Your hearing aids live in one of the most hostile environments a piece of electronics can face: the human ear canal. It is warm, humid, and produces wax and oils every single day. Over time, that wax migrates into the receiver (the tiny speaker) and the microphone ports. Sound gets quieter, clarity drops, and feedback or whistling can start.
Wax blockage is the most common cause of hearing aid repair visits, and most end with a thirty-second cleaning and a perfectly working aid. A daily routine at home prevents nearly all of that. It also extends the life of your devices and reduces the odds of moisture damage, the other big killer of hearing aids.
If your aid suddenly sounds weak, run through a cleaning first before assuming the worst. Our muffled sound guide and troubleshooting checklist both start with cleaning for exactly this reason.
What You Will Need
You do not need a fancy kit. Most hearing aids come with a small cleaning tool in the box, and that covers the essentials:
- A soft, dry cloth or microfiber cloth (a clean tissue works in a pinch)
- The small multi-tool from your hearing aid kit: usually a brush on one end and a wax pick or wire loop on the other
- Spare wax guards made for your specific hearing aid model
- Spare domes, if your aid uses replaceable domes
- Optional but worth it: a drying case or electronic dehumidifier, especially if you live somewhere humid or sweat a lot
That is it. Skip alcohol wipes, baby wipes, or cleaning sprays unless your provider recommends one for your model. Plain and dry beats chemical and wet almost every time.
The Daily Cleaning Routine
Do this every evening when you take your hearing aids out. The whole thing takes about two minutes per aid.
Step 1: Wash and dry your hands. This sounds fussy, but lotion, food grease, and sunscreen on your fingers transfer straight onto the device. Clean hands first.
Step 2: Wipe the entire aid with the dry cloth. Hold the aid and give every surface a gentle wipe, including the part that sits in your ear. This removes the day’s layer of oils and surface wax before it hardens overnight.
Step 3: Brush the microphone ports. Look for the tiny holes on the body of the aid. Hold the aid with the ports facing downward and brush gently so debris falls out instead of getting pushed in. A few light strokes is enough.
Step 4: Clean around the dome and receiver. Use the brush end of your tool to sweep wax away from the dome (the soft tip that goes in your ear). Check the wax guard, the tiny filter at the sound outlet. If it looks clogged or discolored, swap in a fresh one. Our wax guard guide shows exactly how to change it.
Step 5: Open the battery door. If your aid uses disposable batteries, open the battery compartment fully. This switches the aid off and lets air circulate so moisture can escape overnight. If you use rechargeables, place the aids in the charger as usual.
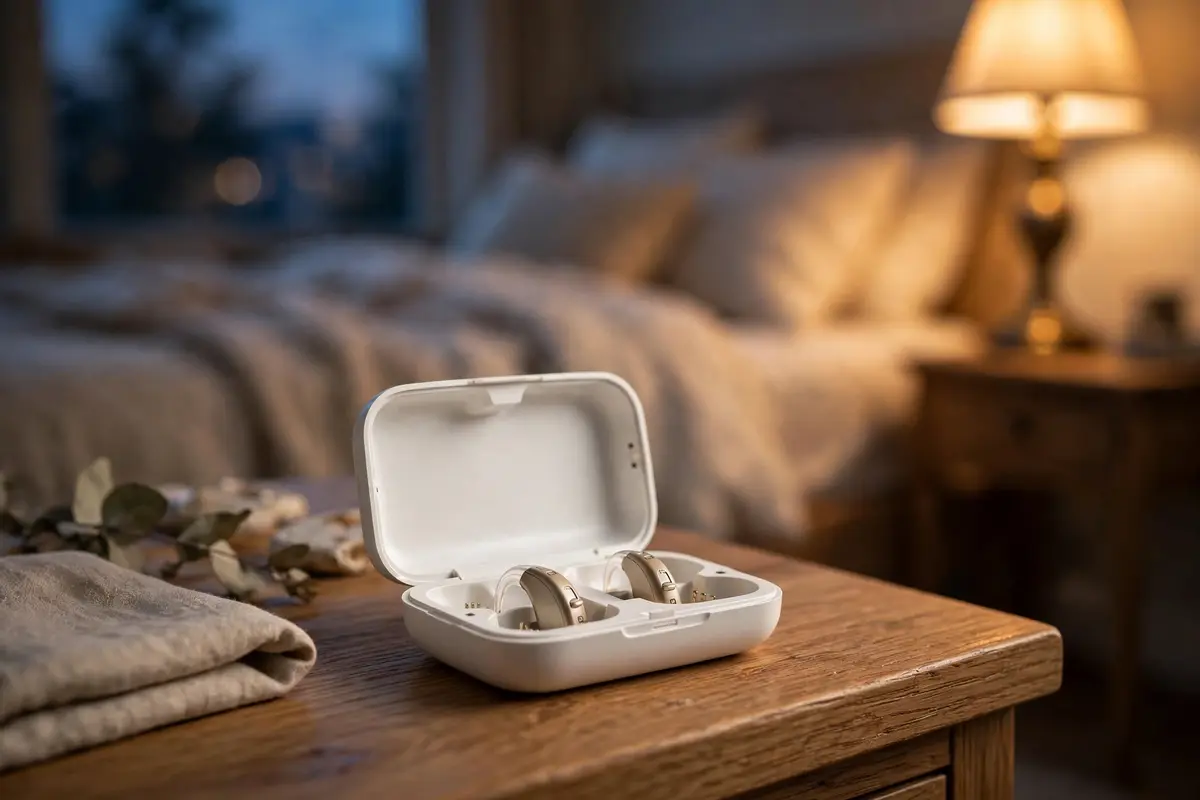
Step 6: Store them properly. Put the aids in their case or a drying container, in a cool dry spot. Not the bathroom (too steamy), not on a sunny windowsill (too hot), and definitely not loose in a pocket or bag where they can get crushed.
That is the whole daily routine. Two minutes now saves you a repair appointment later.
The Weekly Deeper Clean
Once a week, give your aids a little extra attention:
- Remove and inspect the domes. If your aid has removable domes, take them off and wipe underneath. Domes can be washed with mild soap and water but must be completely dry before reuse. Replace any dome that is torn, stiff, or discolored.
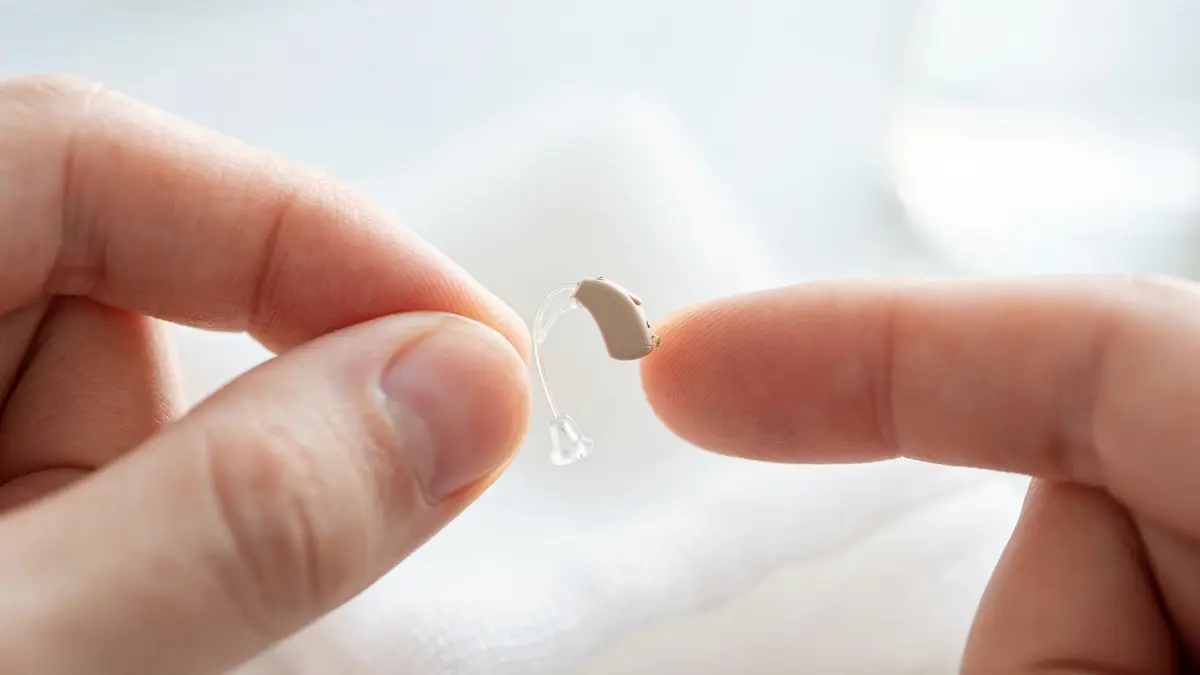
- Check BTE tubing. If you wear a behind-the-ear model with a tube, look for moisture droplets, yellowing, or hardening inside the tube. Blow condensation out with a puffer tool. Hardened or cracked tubing needs replacing by your provider.
- Brush the receiver opening carefully. With the brush only, never anything sharp. Sweep around the sound outlet to dislodge wax the daily wipe missed.
- Run the drying case. If you own an electronic dryer or dehumidifier, put the aids through a full cycle. This is especially valuable in summer or if you exercise while wearing your aids.
Cleaning Tips by Hearing Aid Style
The basics are the same for every style, but each type has one spot that needs extra attention.
Receiver-in-canal (RIC). The receiver sits inside your ear canal, right where wax lives. This style clogs fastest. Check the wax guard every few days, not just weekly. Keep a few spare guards in your case so you are never caught without one.
Behind-the-ear (BTE). Wax is less of an issue, but moisture in the tube is the enemy. If you see droplets inside the tube, detach it and use an air puffer. Custom earmolds can be washed with mild soap and water once detached from the aid, then dried completely overnight.
Completely-in-canal (CIC) and in-the-ear (ITE). These sit deep in wax territory. Wipe them thoroughly every night and be extra gentle with the small components. Their tiny size means even a little wax blocks a lot of sound.
Rechargeable models. Wipe the charging contacts on both the aids and the charger once a week with a dry cloth. Dirty contacts are a surprisingly common reason aids “do not charge.” For battery-specific care, see our battery sizes guide and battery life guide.
What Never to Do
This section matters more than the rest combined, because one wrong move can destroy a hearing aid that cost thousands. Never do any of the following:
- Never submerge your hearing aids in water. Even models marketed as “waterproof” or “water-resistant” are designed to survive sweat and rain, not a swim or a soak. Take them out before showering, swimming, or very steamy activities.
- Never use alcohol, solvents, or household cleaners. These can dissolve protective coatings, damage microphone membranes, and degrade the plastic housing. Dry cleaning only, unless your provider says otherwise.
- Never poke sharp objects into the receiver. No pins, toothpicks, or paperclips. The receiver is a delicate component the width of a grain of rice. One poke can puncture it, turning a cleaning session into a repair bill. Use the brush and wax pick from your kit only.
- Never use heat to dry them. No hair dryers, microwaves, or radiators. High heat warps the casing and kills batteries. Room-temperature air drying or a proper drying case is the way.
- Never apply hairspray, perfume, or sunscreen while wearing them. Put your aids in after your morning routine is finished. These products leave films that clog microphones and corrode contacts over time.
When Cleaning Is Not Enough
Sometimes you clean thoroughly and the problem persists. That is useful information, not a failure. If sound is still weak, distorted, or cutting out after a full clean and a fresh wax guard, the issue is likely a worn receiver, a failing battery, or an internal fault. Work through our full troubleshooting checklist next. If you hear whistling, the whistling guide covers fit and feedback issues that cleaning will not fix.
And if the aid is simply getting old, it may be nearing the end of its natural life. Our guide to how long hearing aids last explains realistic lifespans and the signs it is time for a replacement rather than another repair.
Frequently Asked Questions
Can I use baby wipes to clean my hearing aids?
It is best not to. Baby wipes contain moisturizers and mild detergents that leave residue on microphones and can seep into seams. A dry microfiber cloth is safer and just as effective for daily cleaning.
How often should I replace the wax guard?
It depends on how much wax your ears produce. Many people need a new guard every two to four weeks; heavy wax producers may need one weekly. Change it whenever sound seems reduced or the guard looks visibly clogged. See our wax guard guide for the full walkthrough.
Is it okay to clean hearing aids with a slightly damp cloth?
A barely damp cloth on the outer casing is generally fine, but keep all moisture away from the battery compartment, microphone ports, and receiver opening. When in doubt, stay dry. The NIDCD’s hearing aid page also recommends keeping devices away from moisture.
My hearing aid smells bad. What should I do?
Odor usually means trapped moisture or old wax. Do a thorough cleaning, replace the dome and wax guard, and run the aids through a drying case overnight. If the smell persists, have your provider check for moisture damage or a degraded earmold.
Should I clean my hearing aids differently in summer?
Yes, step it up. Heat and sweat mean more moisture and faster wax buildup. Consider a daily cycle in an electronic dryer during hot months, and wipe the aids down if you have been sweating heavily. Never leave them in a hot car.
A clean hearing aid is a hearing aid that works. Build the two-minute evening routine, do the weekly check, keep spare wax guards on hand, and you will avoid the vast majority of common problems. The FDA also recommends following your manufacturer’s care instructions to keep devices working properly. Your next step: learn to change wax guards like a pro, since that one skill solves more “dead aid” scares than anything else.