
If your hearing aid suddenly sounds weak or muffled, there is a good chance the culprit is a component smaller than a grain of rice: the wax guard. This tiny filter is the unsung hero of hearing aid maintenance, quietly catching earwax before it can reach the delicate speaker inside. When it gets clogged, sound fades. When you replace it, sound comes back.
Yet many hearing aid wearers have never heard of wax guards, or they know the name but have no idea how to change one. This guide fixes that: what wax guards are, how they work, exactly when to change them, and the step-by-step process.
What Exactly Is a Wax Guard
A wax guard is a small disposable filter that covers the sound outlet of your hearing aid, the opening where amplified sound exits into your ear. It sits between your earwax and the receiver (the tiny speaker). Wax lands on the guard instead of inside the receiver, where it could cause real damage.
Think of it like the lint filter in a dryer. It does not stop wax from existing. It stops wax from reaching the expensive parts. The guard itself is designed to be replaced regularly, which is far cheaper and easier than replacing a wax-damaged receiver.
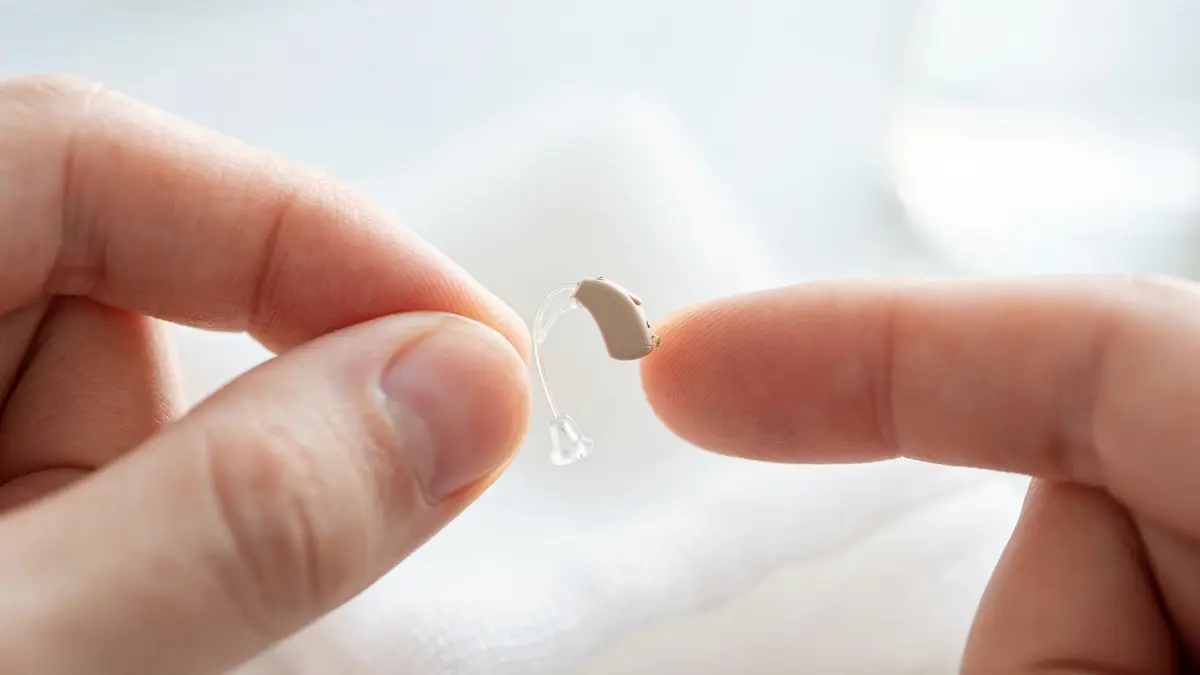
Most modern receiver-in-canal (RIC) and in-the-ear styles use them. Some behind-the-ear models with custom molds use a similar filter or a wax trap in the tubing instead. If you are not sure whether your aid has one, look at the tip that goes in your ear: a tiny white or colored disc with a mesh center, right at the sound opening, is the guard.
Why They Matter So Much
Earwax is the number one enemy of hearing aids. Providers consistently rank wax blockage as the most common reason for “repair” visits, and most of those visits end with a simple guard change. A clogged guard does not just make sound quieter. It can make it distorted, intermittent, or kill it entirely on one side, which feels exactly like a broken aid.
This is why every troubleshooting guide, including our stopped-working checklist and muffled sound guide, tells you to check the wax guard first. It is a thirty-second fix that resolves an outsized share of problems. The NIDCD lists regular maintenance, including wax management, among the basics of successful hearing aid use.
Beyond emergencies, regular guard changes protect the receiver from slow wax migration. Wax that works past a saturated guard can permanently damage the speaker, turning a fifty-cent filter into a hundred-dollar repair. The guard is cheap insurance.
How Often Should You Change Them
There is no single schedule, because earwax production varies enormously between people. But here are realistic guidelines:
- Average wax producers: every two to four weeks
- Heavy wax producers: every one to two weeks
- Light wax producers: every four to eight weeks
More useful than any calendar is learning the signs of a clogged guard: sound gradually getting weaker, one aid quieter than the other, intermittent cutouts, or a general loss of clarity. If any of those appear, change the guard first and see what happens. Nine times out of ten, that is the whole story.
A practical tip: change the guard on a schedule tied to something you already do, like the first of the month or every other Sunday. And always keep spare guards in your hearing aid case. They are tiny, cheap, and useless if they are sitting in a drawer at home when you need one on a trip.
How to Change a Wax Guard: Step by Step
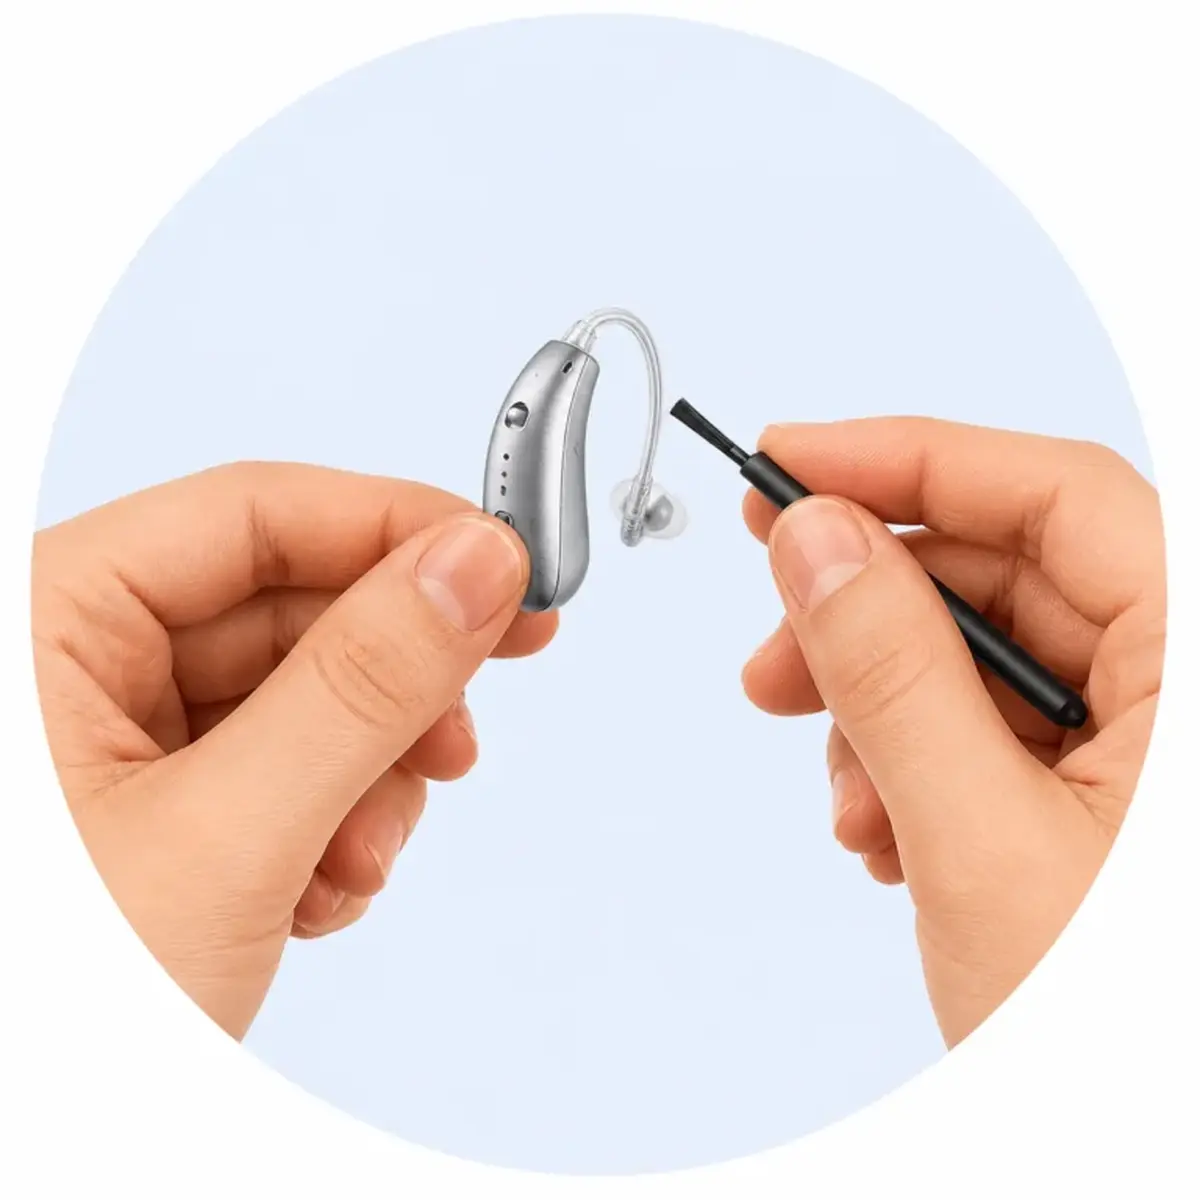
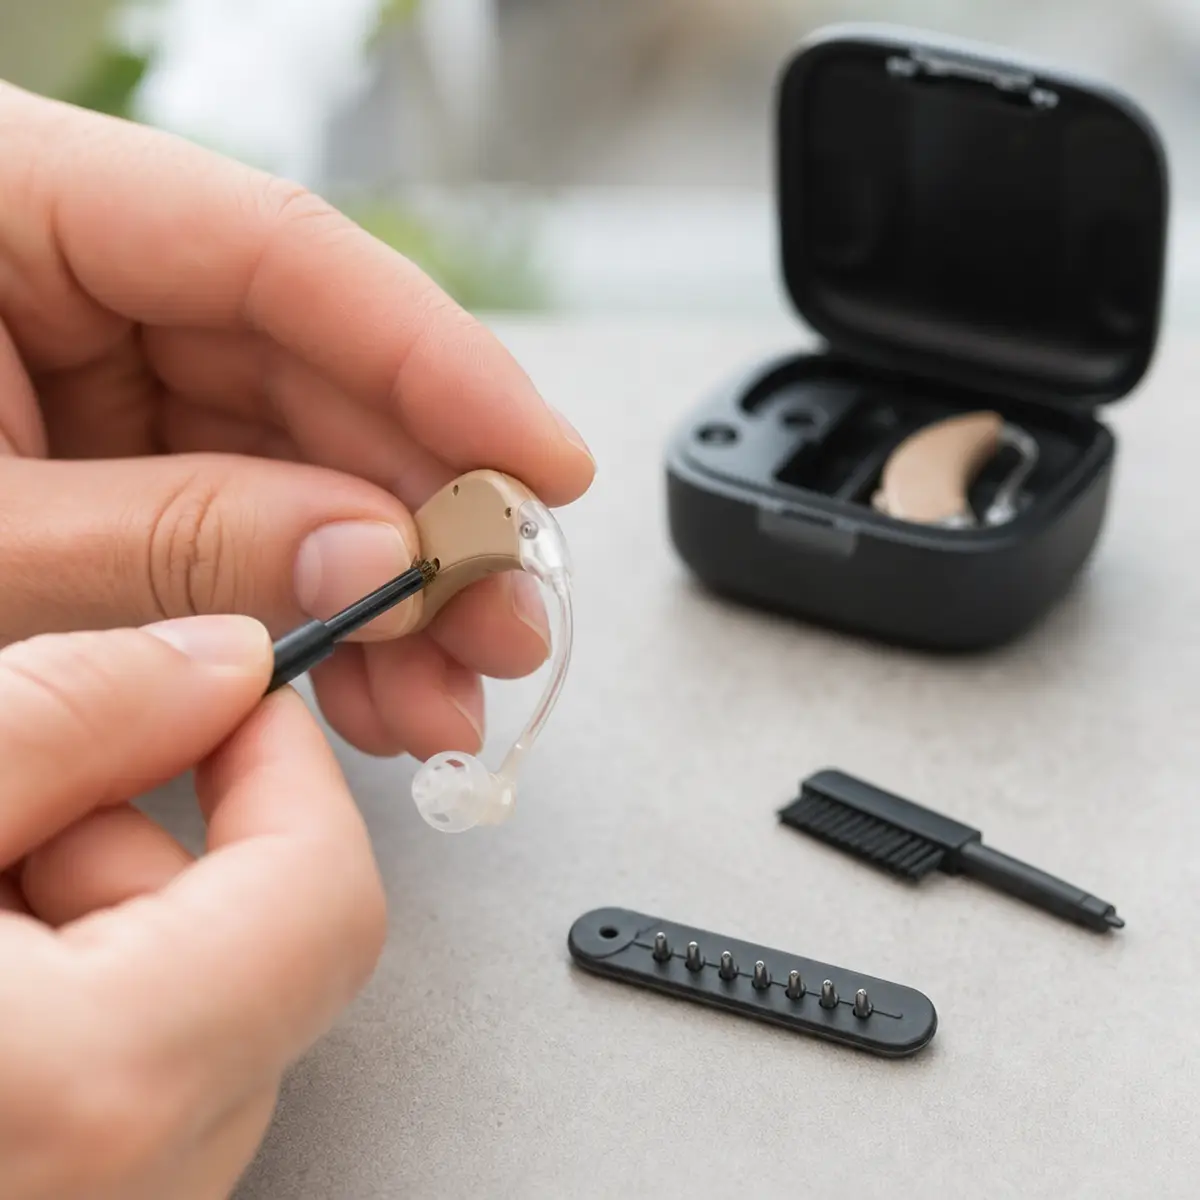
The exact tool varies by brand. Phonak uses one style, Oticon another, Starkey another, and so on. But the principle is identical, and most systems use a small stick with two ends: one end removes the old guard, the other inserts the new one.
Step 1: Wash and dry your hands. Clean hands keep oils and extra wax off the new filter.
Step 2: Get a fresh guard ready. Open the replacement pack and have the changing tool in hand. Do this over a table, not over a sink or outdoors. These things are tiny and love to disappear.
Step 3: Remove the old guard. Using the removal end of the tool (usually the end without a visible white tip), press it gently into the old guard and pull straight out. The used guard should come away stuck to the tool. Discard it.
Step 4: Insert the new guard. Flip the tool to the end holding the fresh guard. Press it gently and straight into the empty sound outlet until it sits flush. Do not force it. It should seat with light pressure.
Step 5: Check your work. Look at the tip. The new guard should sit flat and centered over the opening. Put the aid in and listen. If sound is back to normal, you are done.
If the guard will not come out, or you cannot see what you are doing, stop. Do not improvise with tweezers or pins near the speaker. Take the aid to your provider. A professional cleaning costs little and carries zero risk of puncturing the receiver, which is exactly what sharp objects can do.
Are Wax Guards Universal
No, and this trips people up. Wax guards are brand and often model specific. A Phonak guard will not fit an Oticon aid properly, and even within one brand, different product lines can use different systems. Using the wrong guard can leave gaps that let wax through, or fit so poorly it falls out in your ear.
Always buy the guards made for your exact model. Your provider sells them, and they are widely available online once you know the system name (your manual lists it). They are inexpensive, usually a few dollars for a pack that lasts months. Buying the correct ones is one of the cheapest high-value purchases in hearing aid ownership.
What Happens If You Ignore Them
A neglected wax guard does not fail all at once. It clogs gradually, so sound fades slowly enough that you might not notice for weeks. You turn the volume up to compensate. Then one day the aid seems dead, and you assume the worst.
Worse, a fully saturated guard stops filtering. Wax migrates past it into the receiver itself. At that point a simple guard change will not help, because the speaker is contaminated. Professional cleaning can sometimes save it. Sometimes the receiver needs replacing, which is a real repair bill for a problem a fifty-cent filter would have prevented.
If you wear your aids daily, put guard checks into your cleaning routine. A glance at the guard during your evening wipe-down takes three seconds and catches clogs early.
Frequently Asked Questions
Can I clean and reuse a wax guard?
No. They are single-use by design. The filter mesh traps wax permanently, and attempting to clean it usually damages the mesh or pushes wax deeper. Fresh guards are cheap. Use a new one every time.
What if the wax guard falls out inside my ear?
Do not panic, but do not dig for it either. Tilt your head and see if it falls out on its own. If you can see it clearly at the ear opening, you may remove it gently with clean fingers. If it is deeper, see your provider or an urgent care clinic. Never insert tools into your ear canal.
Do all hearing aids use wax guards?
Most receiver-in-canal and custom in-ear models do. Some behind-the-ear models use different wax management, like traps in the earmold tubing. Check your manual or ask your provider which system your aids use.
Why does one ear clog guards faster than the other?
Totally normal. Wax production often differs between ears. Just change that side’s guard more often. If one ear suddenly produces much more wax than usual, or the wax looks unusual, mention it to your provider or doctor.
Can I buy wax guards online?
Yes, once you know your exact system. Search for your hearing aid brand and model plus “wax guards.” Buy from reputable sellers, since counterfeit filters with poor tolerances do exist. Your provider remains the safest source. The FDA recommends getting accessories and replacement parts suited to your specific device rather than generic substitutes.
The wax guard is the smallest, cheapest, and most overlooked part of your hearing aid, and also one of the most important. Learn your change schedule, keep spares in your case, and change the guard before you panic about any sound problem. Pair that habit with the full cleaning routine, and you will prevent the majority of common hearing aid failures yourself.